Before we get to the Tech Tip we have the Bronco picture of the day:
photos courtesy of Big Sky Broncos
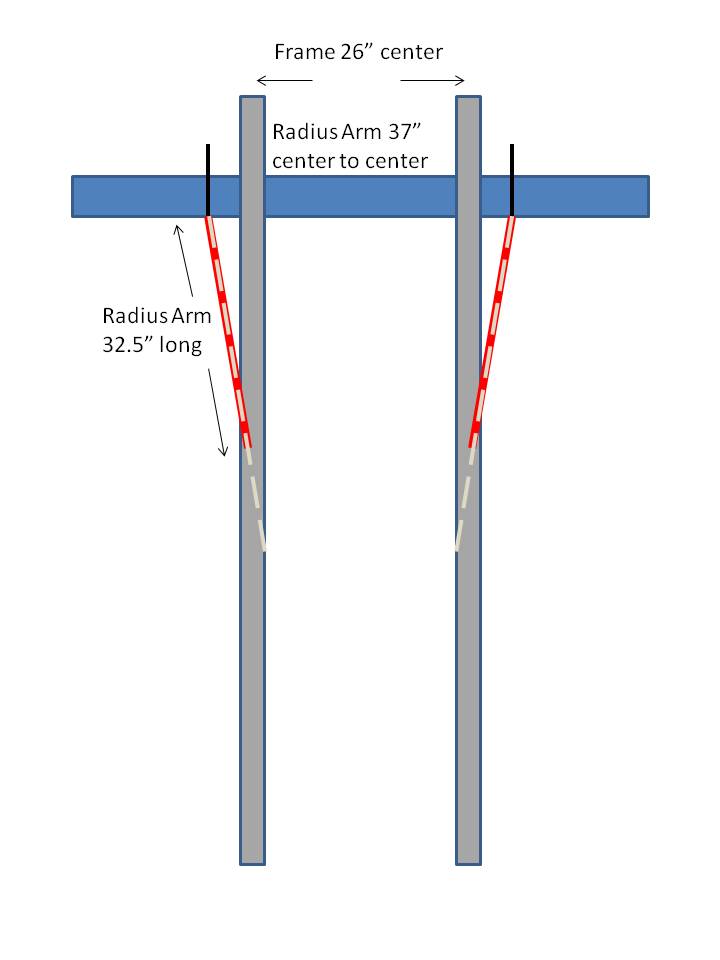
Classic Broncos have a week spot in the steering....The manual steering boxes worked OK when you were running 215/75R15 tires, but when you step up to larger ones, the boxes quickly fall apart.
The factory power steering was only offered in the later years ('73 - '77) and those boxes can be hard to find (used) and expensive (new or used).
the stock Bronco P/S box, mounted to the outside of the frame, in the same place as the manual box.
Retro-fitting a power steering box can be tough, for a couple of reasons.
- There is not much room on the Classic Bronco's frame or inside fender well.
- The Classic Bronco's pit-man arm faced to the rear, while some of the full-size Ford 4wd boxes steered to the front or to the side.
There are several types of conversions.
Some people tried to use GM steering boxes mounted to the outside of the frame. This one is on a Stroppe Baja Bronco, they needed to build a bracket to relocate the front body mount....not the easiest of swaps
One popular one was to use a power steering gear from an early '60's Lincoln Continental. The box mounted to the inside of the frame, which required notching the cross-member, denting the radiators bottom corner and drilling new holes in the frame.
My Father's Bronco, my Brother's Bronco and my Bronco all had this steering box arrangement.
The Lincoln boxes look the same as the F-seires 2wd steering box from the 1970s, except the sector shaft is shorter, sitting just a little lower than the stock Ford box. Which for a Bronco with 1-3" of lift was almost perfect. If you had more lift, the F-series box was easier to find and made for better drag link angle. You also need to shorten the drag link, or buy one from Wild Horses Four Wheel Drive (due to the box now being on the inside of the frame).
F-series 2wd box
Here is a picture of an F-series 2wd box being fitted on a classic Bronco, the box needs to be moved as far back as possible (I notched my cross-member with a piece of pipe) and tilted at a slight angle to make room for the radiator.
Here is one installed, note the angle at which the box sits
Also note the custom mounting bracket, these are available from Wild Horses Four Wheel Drive among others.
Some people were concerned with abnormally long sector shaft and created a brace to support it, these can be found for Jeeps as their steering boxes has a habit of tearing away from the frame.
I built this one myself with some pieces I had in the garage
The F-series 2wd box retrofit is a fairly easy and affordable solution.
But there is another way. If you can find one of these boxes used (you can buy them new if you want to pay a premium), you can make them fit just like a stock Bronco P/S box.
This is a steering box from a '76-'79 F-150 and '78/'79 full size Bronco. They will almost bolt right up, but there is a problem. On the full size trucks and Broncos, the pit-man arm steered to the front, which is opposite of a Bronco. In other words you will go left when you turn right.
That can be fixed. I learned this info from Chuck at BC Broncos, I don't know if he discovered it or not, but his information had me thinking. You swap the worm gear that goes one direction for one that steers the other way....see the graphic below
There are lost of Ford vehicles that have the correct worm gear, here is a list I found online (I cannot vouch for the info)
Bronco '80-96 Power Steering
Bronco II '84-90 Power Steering
Explorer '91-94 Power Steering
Ford F100 Pickup '80-83 Power Steering
Ford F150 Pickup '80-96 Power Steering
Ford F250 Pickup '80-96 Power Steering
Ford F250 Pickup '97 Power Steering; over 8500 GVW, 2 bolt cover & flare hose fittings
Ford F350 Pickup '80-96 Power Steering
Ford F350 Pickup '97 Power Steering; 2 bolt cover & flare hose fittings
Ford F450 Pickup '88-96 Power Steering
Ford F450 Pickup '97 Power Steering; 2 bolt cover & flare hose fittings
Ford Van '82 Power Steering; from 3/82
Ford Van '83-91 Power Steering
Ford Van '92 Power Steering; (E150 thru E350), w/o tag SPA-ER and FG
Ford Van '93 Power Steering; E150 and E250
Ford Van '94 Power Steering; from 5/94, tag SPA-GU
Ford Van '94 Power Steering; thru 4/94, E150 and E250
Ford Van '95-96 Power Steering; under 4200 lb front/GAWR
Mazda B-2300 '94-97 Power Steering
Mazda B-3000 '94-97 Power Steering
Mazda B-4000 '94-97 Power Steering
Mazda Navajo '91-94 Power Steering
Ranger '83-97 Power Steering
One day I was at a wrecking yard helping a friend get a transmission and I noticed a '79 Ford F-150 sitting in pieces, the steering box had been removed and was sitting on the foot well in the cab.
I grabbed the box and went to find a box that had the correct worm gear, I found a 1987 Ford 2wd truck and quickly removed the steering gear, I paid $80 for both boxes, a few duckets for a gasket/O-ring kit and I had a P/S box that mounted to the outside of the frame
My path went from manual to Lincoln Continental, then to the F-series 2wd then to the custom F-series 4wd box.
When swapping from manual to power steering there are a few other items you will need:
- Power Steering Pump
- Two groove pulleys for the water pump and/or crankshaft
- P/S lines, high & low pressure and the fittings
- A new U-Joint section for the column steering shaft
The new steering column u-joint section is needed because you are shortening the shaft (bigger steering box) and the input gear is now in a different location. So instead of one angle to compensate for, you now have two.
I used one from GM full size car, it was a collapsible type with nylon pins. I simply knocked the pins out and adjusted it to fit.
Jeff's Bronco Graveyard sells this heavy duty, collapsible unit ready to be mounted:


